I asked my friends in the historical music and dance world about this portrait. What did she wear underneath the dress? They were unanimous in thinking she wore a pair of bodies - see here for how I made those! They liked the button attachment, that's a nifty detail, much faster to get on or off as opposed to lacings.
See here for how I did all the undergarments!
Janet Arnold wrote a great deal about Eleanor Di Toledo's funeral dress, which I used as the basis for this gown.
This is an Italian portrait:
Some of the best preserved historic garments from this era are from Italy.


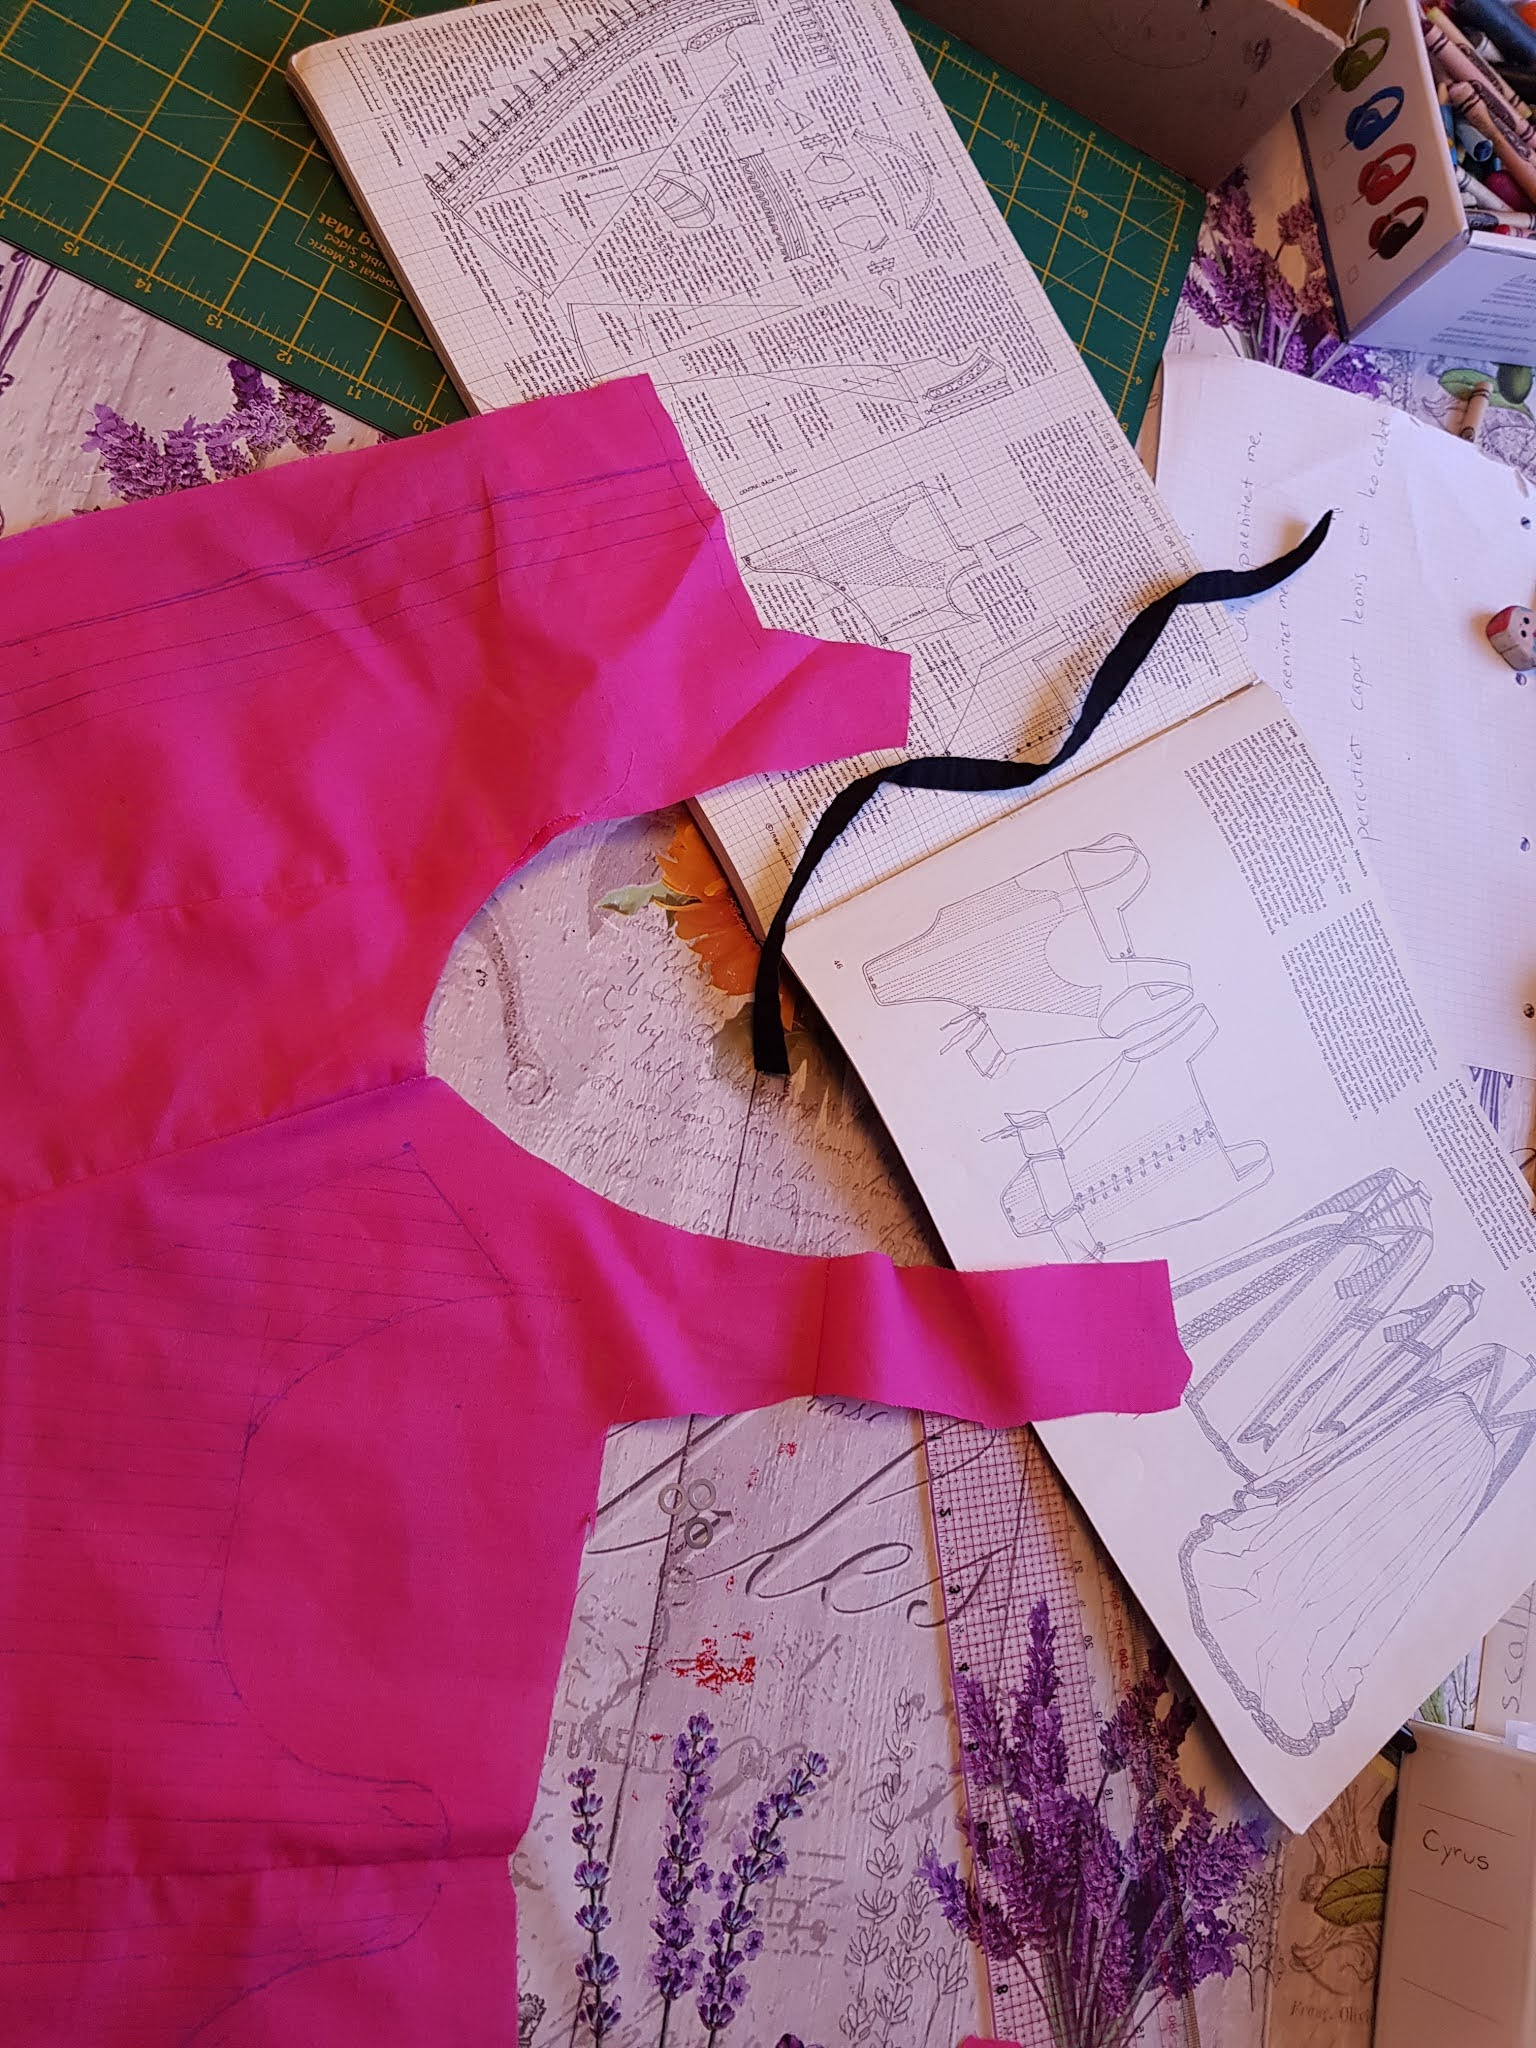
The bodice
I cut this out a few times. I just assumed I would be a larger size than Eleanor de Toledo but it turns out we were the same size! I lengthened the bodice a bit based on the portrait, it just seemed to extend quite low but now I wish I hadn't.
my pattern pieces. I taped together pieces of graphing paper.
I tried cutting one out of velvet and lining with the navy linen but I didn't like how the linen wrinkled and was a different color. It was during lockdown so I couldn't go to the fabric store, and most of my online sellers weren't functioning so I ended up lining it in more velvet. It's the same price as linen if not cheaper, y'all. It's also cotton velvet so it breathes. Supposedly.
The skirt
Measuring the skirt - no pattern pieces for this, it was huge! I cut it 10cm too short but it was still too long so whatev. I wish I had not folded the velvet back on itself to cut the skirt. By the time I realized the nap of the two front sections was going in different directions, I had run out of fabric. I had ordered 8 metres, which I thought was a couple extra than required, so I was pretty shocked.
the sleeves!
My first attempt at the sleeves was a flop. I realized each scallop was its own piece. They took ages, but were surprisingly portable. I used to carry a pocketful of scallops to the park and sew whilst the kids played, or whilst people did their readings to me.
some of the buttons I got for this project. The plastic gold colored ones ended up being the winners for the sleeves. The square ones for the waist detail and headpiece.
 |
| The sleeve backs. |
 |
| The sleeve fronts - they can stand on their own! |
 |
| progress so far at this point |
 |
| hand sewing the lacings took an epoch! |
 |
| My amazing sister in law did this gold embroidery by the way! |
Accessories
This is the part of my journey I definitely would have floundered if not with help from my friends.
A friend sent this jewelry, which she made, from Florida!
Jewelry making is definitely not something I can ever imagine being good at!
My middle son helped me decide which headbands to order from ebay! We doctored the pearl one slightly.
I bought these gloves years ago from a theatre sale. They are a little discolored but you can't tell in the portrait. I don't know anything about Elizabethan glovemaking so I daresay these are entirely wrong but the lady in the portrait has gloves - so token gloves here.
Costs
If you are my mom, don't read this. You would be horrified.
Remember everyone who does read this that this was my hobby for a year. Some people spend more on a gym membership or a personal trainer or sewing classes or going out for coffees!
39 in thread and buttons on ebay
24 in thread on amazon
67 in dress fabric - 8 metres
25 on linen
2 lace
26 on shoes
=£157 materials, £183 including shoes
Thoughts on the lady
I have been staring at this portrait for a year now. At first I thought she was a lady about to get married. Maybe the portrait was taken to the suitor her father selected who lived far away, like how Albrecht Durer sent his future wife a self portrait.
Then I realized this woman doesn't seem like a dewy-eyed, just-off-leading-strings debutante. There's some softening of the chin and neck and she's quite well developed (more than I, but that has less to do with age!). She is a mature woman.
Perhaps she got married later in life?
But after spending a small fortune on the materials, I think she's a wife of a wealthy merchant or a lord. You wouldn't spend this much on a daughter. You would bedeck your wife with this to show off your good fortune, to sell your wares.
She is also wearing rings on both hands.
Another reason to have your portrait taken other than to send to prospective suitors was to have something for your family to remember you if you died in childbirth, as one in three women did. Your child might survive and never remember his or her mother, so a portrait could be the only visual link.
The final project!
It is actually quite a warm dress. I am standing in snow and perfectly warm. The sleeves are so easy to get on - I'm glad she put buttons on it! My children trod on the train a few times the day I wore it but otherwise it is a mostly functional dress.
 |
| Portrait of a Lady allowing herself a friendly smile |